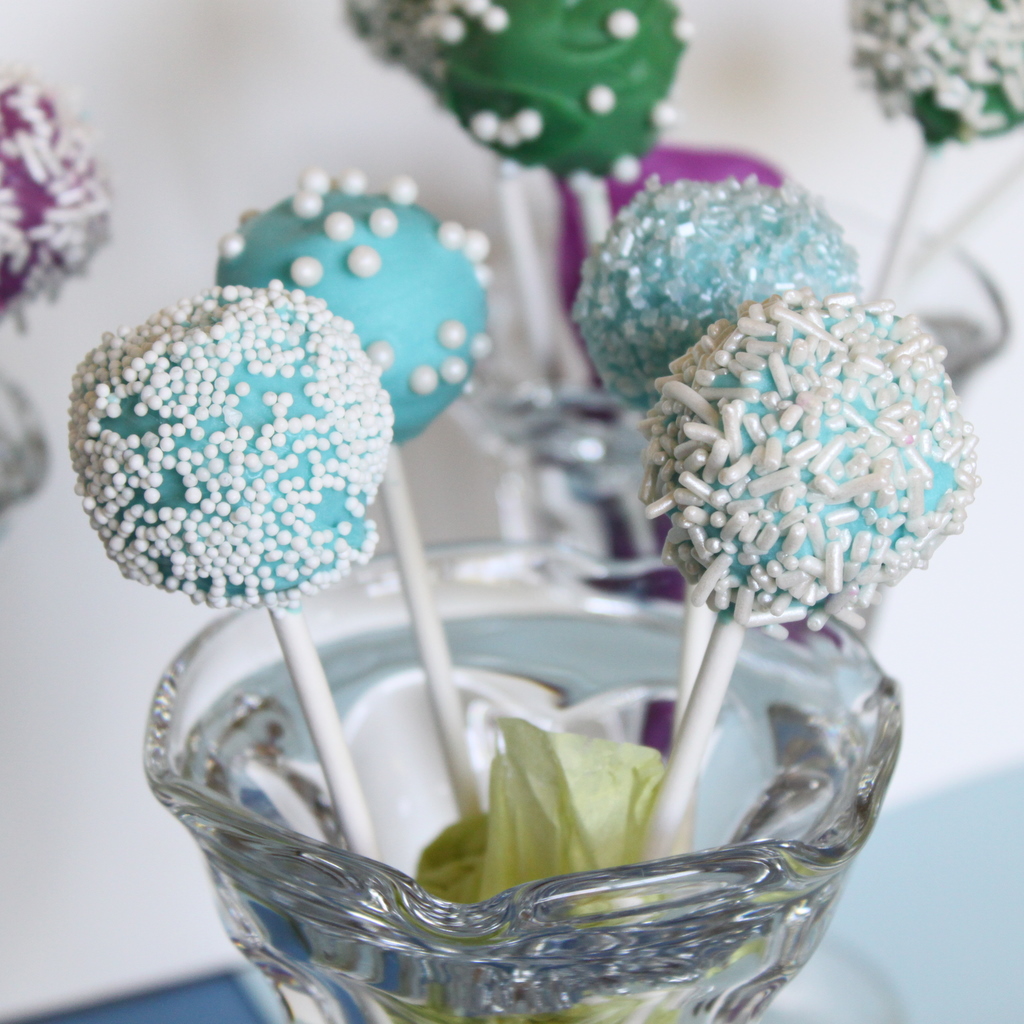
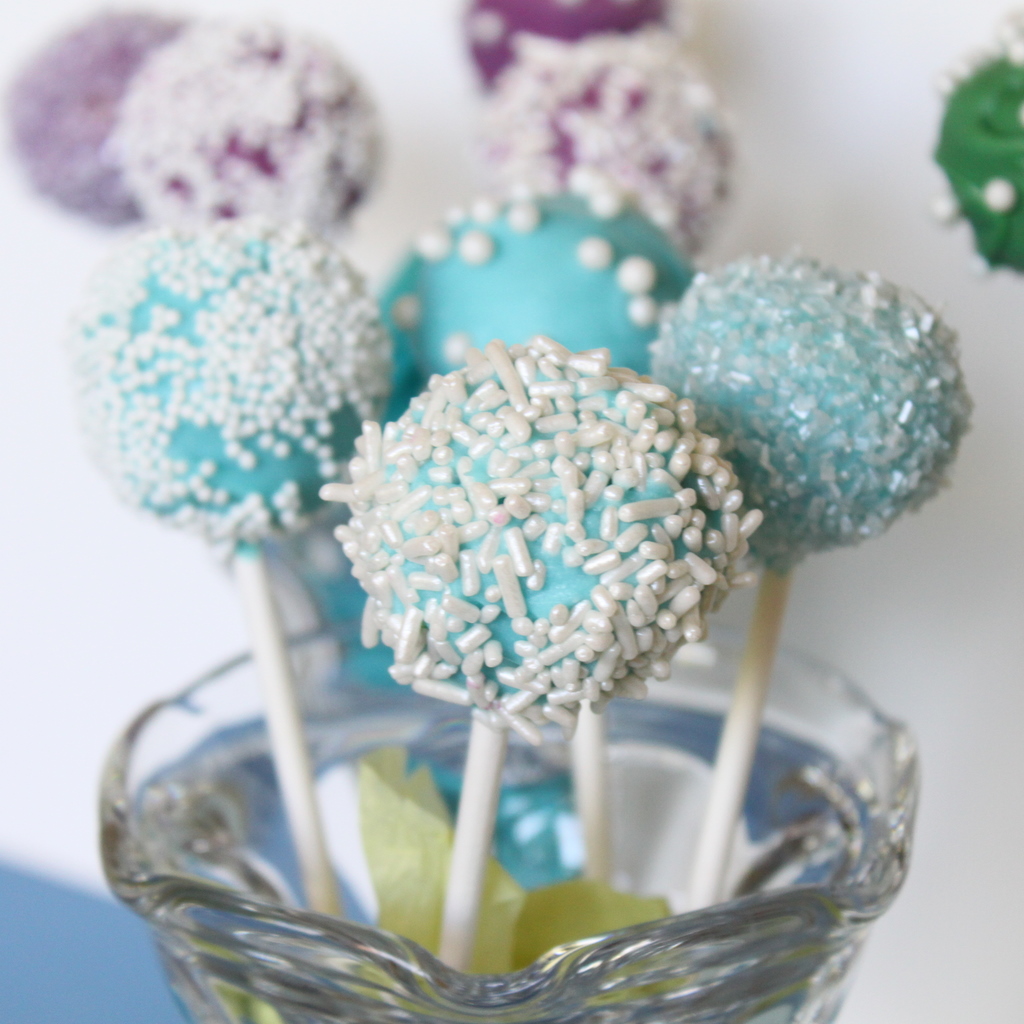
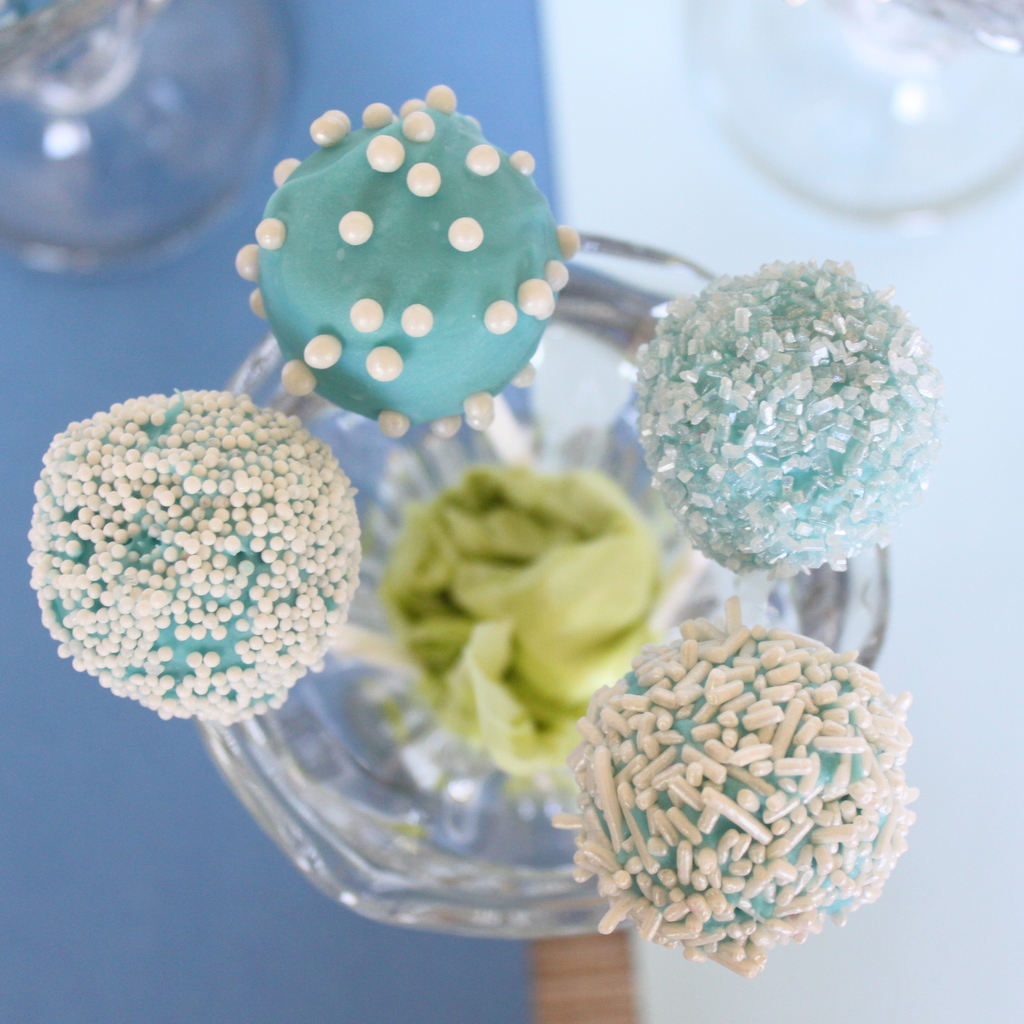
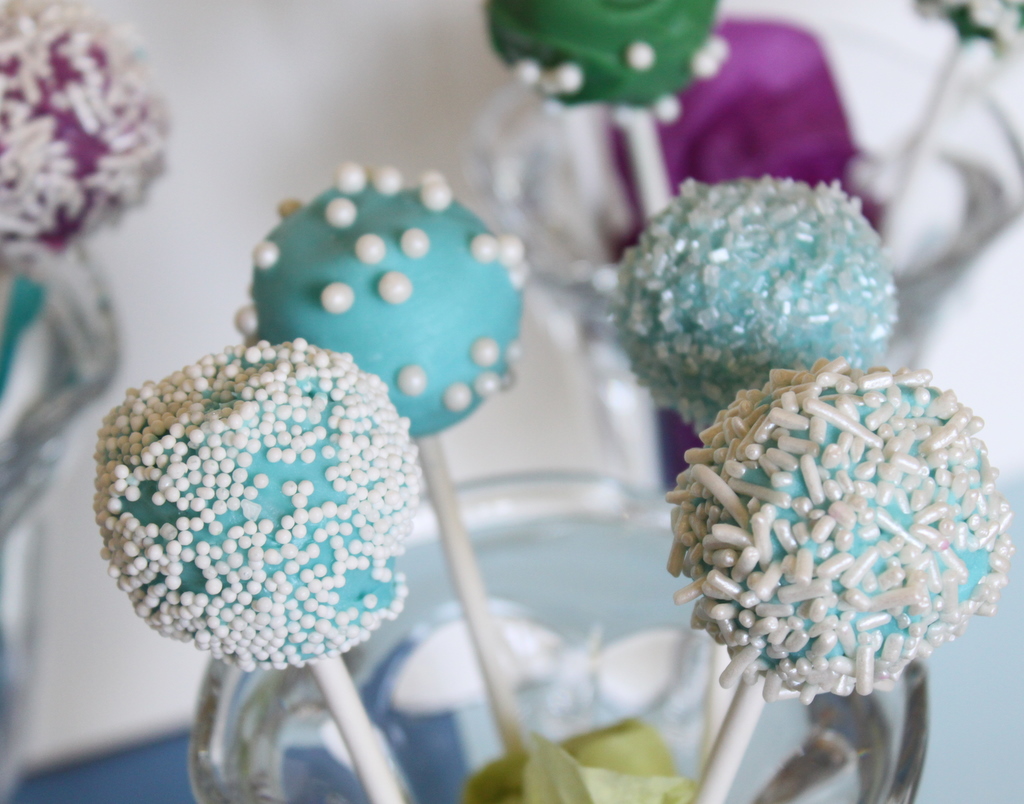
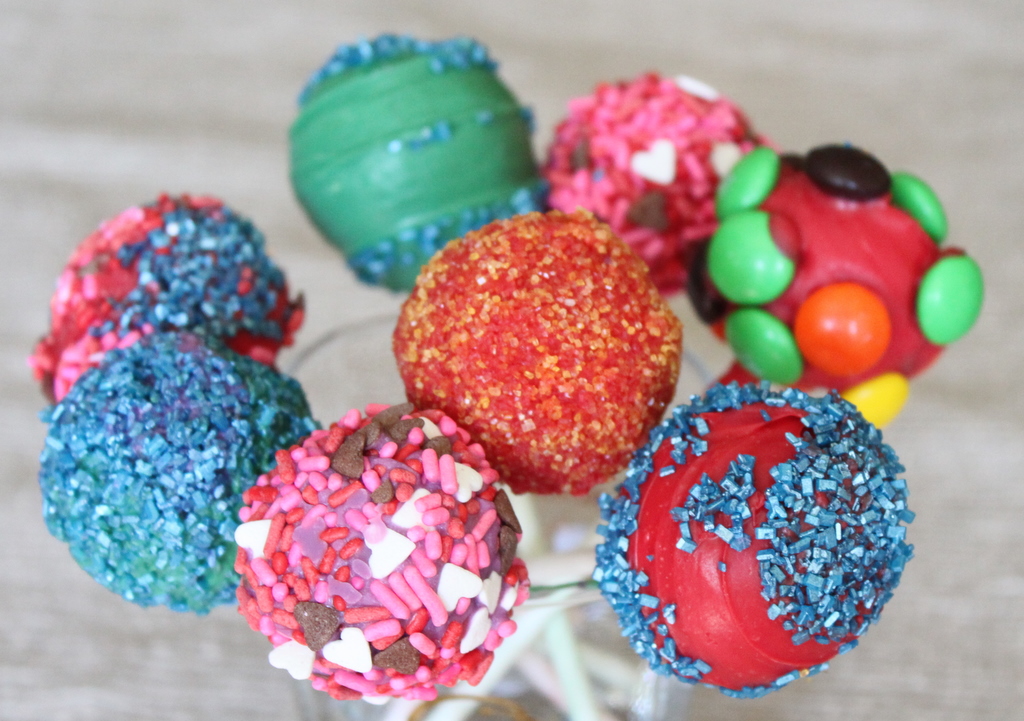
Cake pops are all the rage these days. They were invented over at Bakerella and especially now that they are marketed by Starbucks they can be found all over the place. They have been on my “to-make” list for a long time and a belated birthday celebration with my nieces was the perfect opportunity to finally try them. They are the perfect little bite-sized treat to satisfy your sweet craving, a creative way to use left-over cake and frosting, and cute little party favors or gifts. {They also make a fun edible art project for kids. When I recently made them for my nieces’ birthdays, I left about half of the cake pops unfinished so that they could decorate the rest while they visited us.}
They are actually pretty simple to make as long as you have some time to let them chill. I followed the chilling times recommended by Bria Helgerson, a fellow contributor over at Honest Cooking, and the process went very smoothly. I used a basic white cake mixed with vanilla buttercream frosting which was a popular combo with my family but you can use whatever cake and frosting you want. This time I simply decorated them with colored candy melts and a combo of white sprinkles so that I could master the cake pop process. I will definitely be making cake pops again soon and I’m already brainstorming ideas for my next batch. The flavor and decoration options are endless and they can be made to match any party theme or occasion.
| Cake Pops |
- Cake, crumbled
- Frosting, to taste
- Chocolate bark and/or Wilton’s colored chocolate candy melts
- Sprinkles and other decorations
- Lollipop sticks
- Once your cake has cooled, crumble it into pea-sized or smaller pieces.
- Mix in the frosting a spoonful or two at a time, adding just enough so that when rolled the cake mixture stays in balls without crumbling apart.
- Roll the dough into balls and place them on a wax paper-lined cookie sheet.
- Refrigerate them for 15-30 minutes.
- Melt a small portion of chocolate and dip the ends of each lollipop stick into the chocolate.
- Immediately insert a chocolate-dipped lollipop stick into each cake ball so that it is inserted about half way through the cake ball.
- Place the cake pops back onto the waxed paper and freeze them for 30 minutes to 1 hour.
- Melt the remaining chocolate and candy melts in deep glasses or bowls.
- Working with one cake pop at a time, dunk it in the chocolate and swirl it around until the chocolate covers the cake pop up past the point where the chocolate-dipped stick is inserted into the cake.
- Swirl it and tap off any excess chocolate.
- Decorate them with sprinkles and other decorations if desired.
- Place them in a short glass or in styrofoam with holes poked in it to allow them to dry completely.
Here is a bouquet of the adorable cake pops that my nieces made: