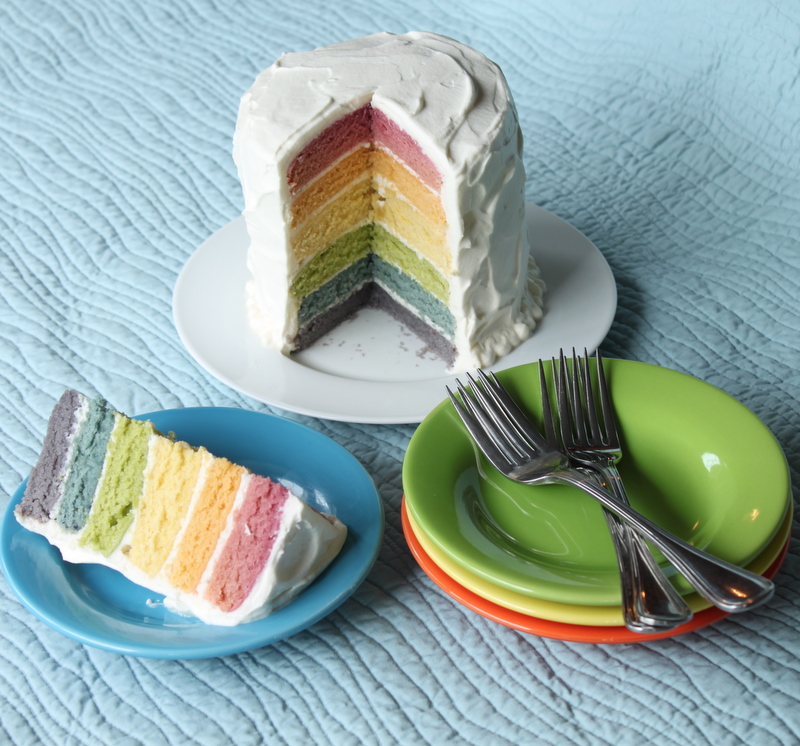
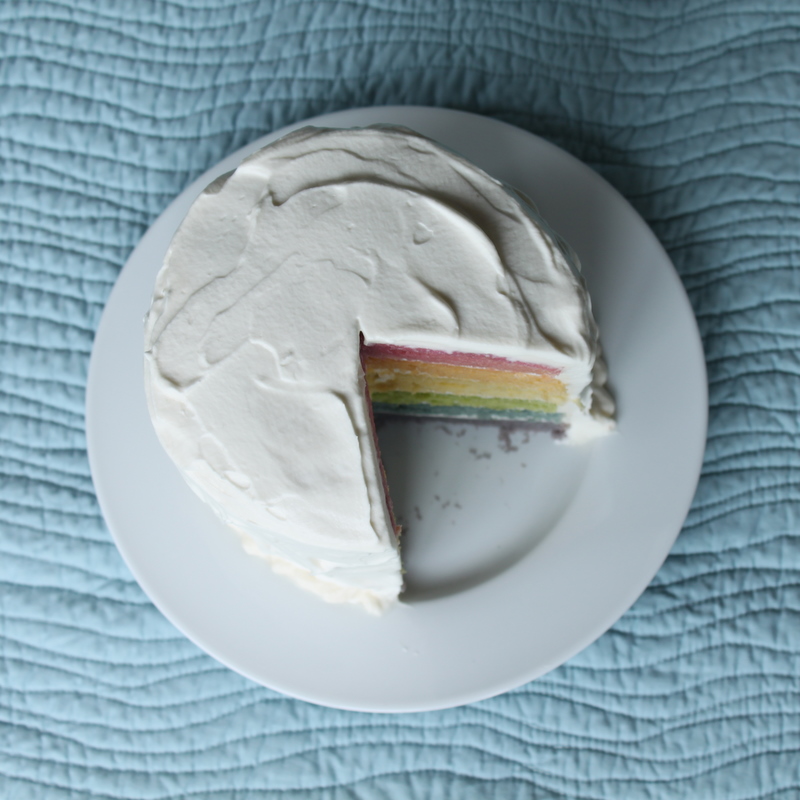
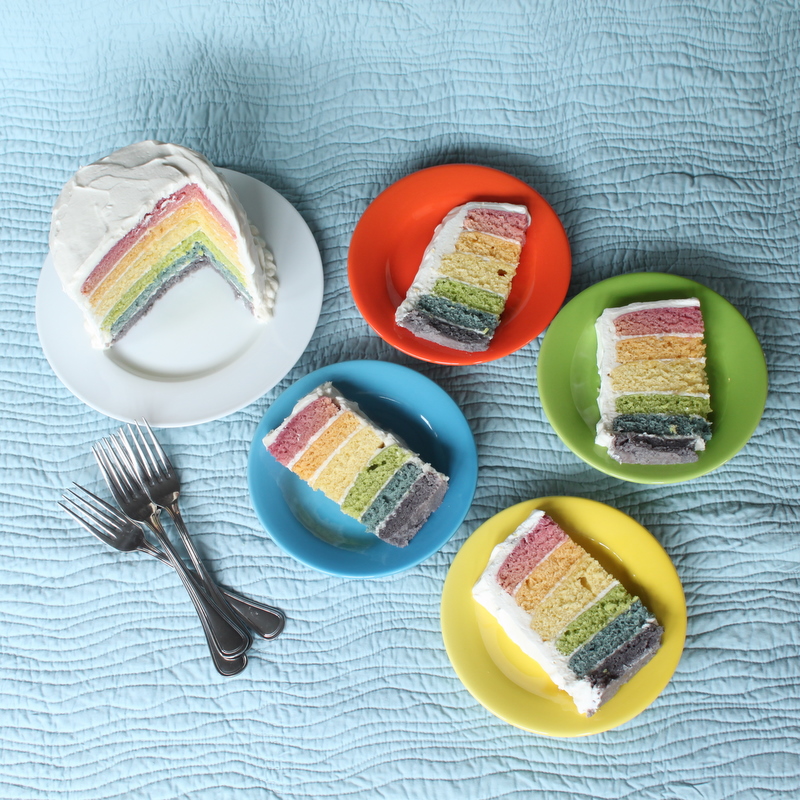
Brighten up your winter with the colors of the rainbow. Let the rainbow inspire your project this month. These were the submission guidelines for the DailyBuzz Moms February 9×9 Somewhere Over the Rainbow project. I didn’t have to think twice about entering the contest because I already had a rainbow cake on my baking list.
Rainbow cakes are everywhere these days. I made one last summer and my family and guests loved the bright, vibrant colors. But in the back of my mind I couldn’t help but think of the negative discussion and controversy surrounding chemical food coloring. My husband was actually the one to challenge me to make a rainbow cake with natural food dyes.
My first experiment with natural food dyes was when I was a child. While making blueberry muffins I inadvertently realized that the more I stirred the batter the more the berry juice bled, making blue muffins. Fast forward to two years ago and I completed my first intentional experiment, coloring Easter eggs with natural dyes. I was intrigued with the beautiful colors that resulted from using everyday fruits, veggies and spices. I have since dabbled in cooking experiments, including using spinach to make Green Eggs and Ham and coloring buttercream frosting with natural dyes.
I have to admit that coloring sweets with natural dyes can get kind of tricky. There are lots of ingredients that would make great dyes but many of them drastically alter the taste, often introducing an unwelcome flavor to the baked good or treat. I know what you’re thinking: dyeing eggs with spinach might work because it is not uncommon to combine spinach and eggs, but spinach juice in a cake?!
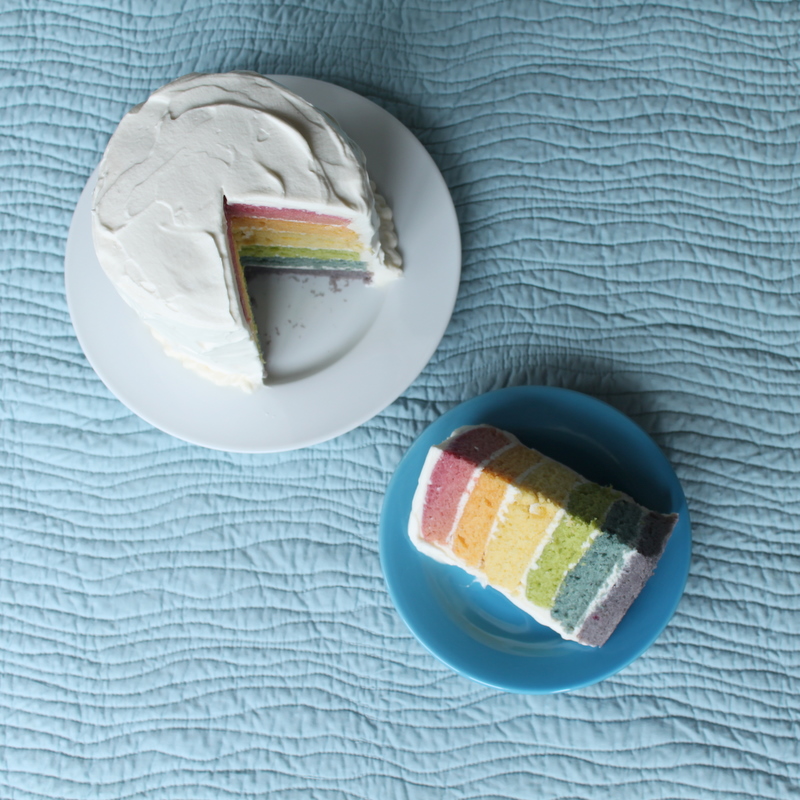
Well, now I can confidently say, yes, it’s ok! You end up using such a small amount of the vegetable juice that the flavor of the dye will probably go completely unnoticed for most people, especially when you add some frosting. My son, who is my toughest critic, ate it {while exclaiming, It’s beautiful, Mommy!} The rest of my family concurred that surprisingly it tasted just like cake and that it seemed much more palatable than the typical bright rainbow cake made with synthetic dyes. So, I considered the baking experiment a success. I would much rather serve my loved ones a beet or carrot-colored cake than an artificially-colored alternative.
As with the Easter eggs and other natural dye projects, a rainbow cake made with natural dyes can be an incredible and fun learning experience for your kids. They can brainstorm fruits, veggies and other colorful foods and then experiment with creating a beautiful and natural rainbow. Not only is it educational but it can also help your kids learn to appreciate the natural beauty of foods. And the process can be translated into many other cooking projects or non-edible projects such as homemade finger paints and homemade playdough.
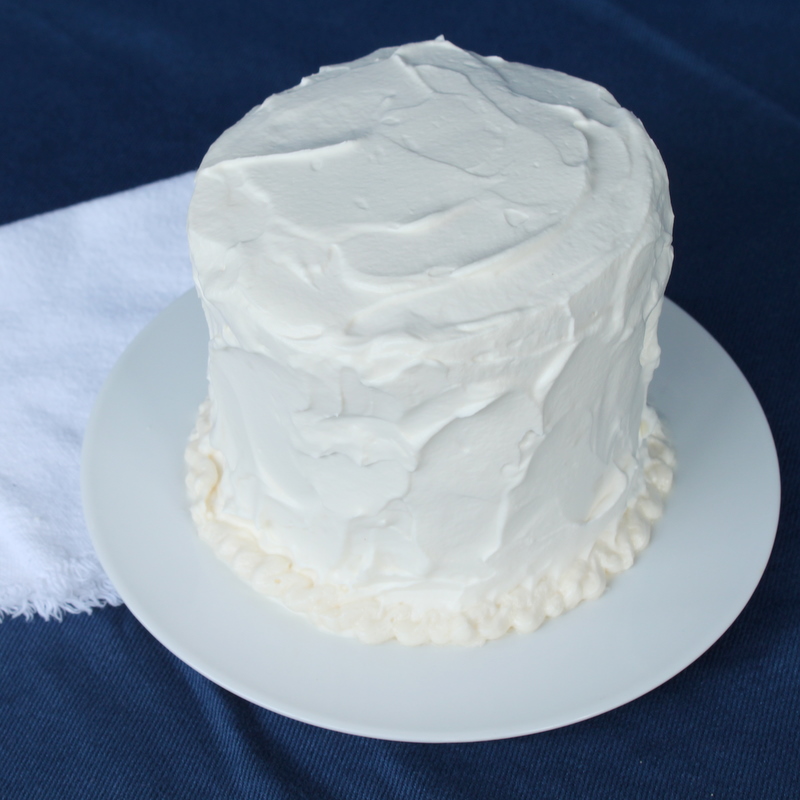
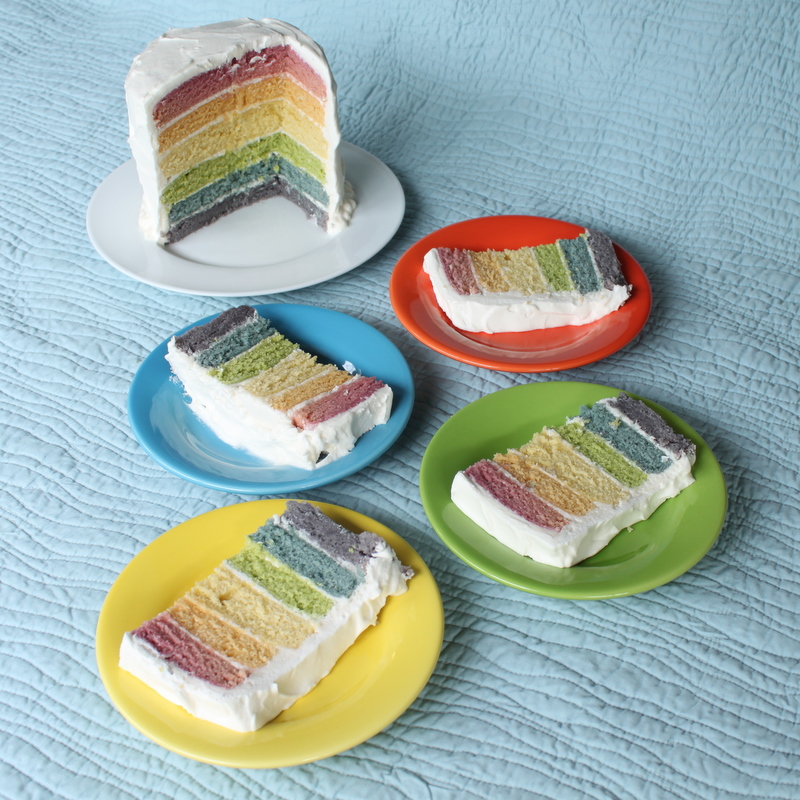
I used a basic Cooking Light white cake that I have used for years and a vanilla buttercream frosting. I then coated the exterior of the layered cake with a whipped cream frosting. Combining the dense buttery buttercream frosting with the light and fluffy whipped cream is one of my new favorite frosting techniques and provided the perfect combo of richness and sweetness for this cake.
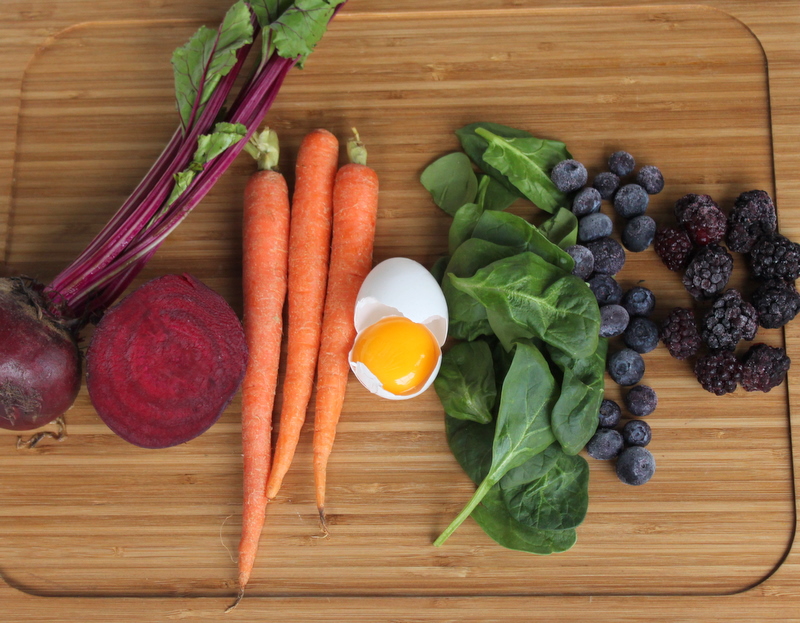
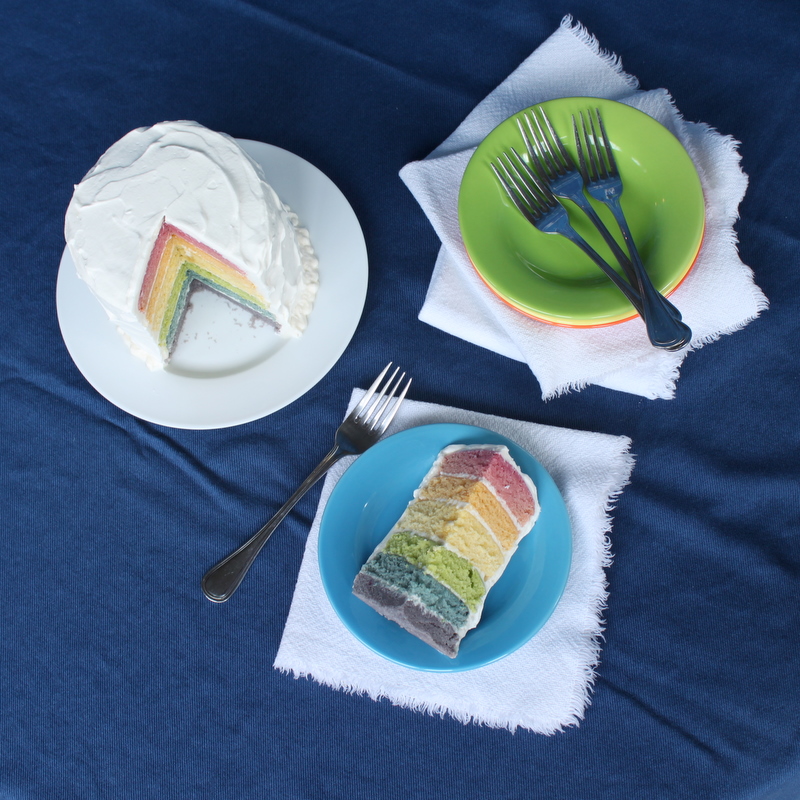
Initially, I did a batch of cupcakes to experiment with different natural dye options and then I selected the six rainbow finalists {indicated with an asterisk} based on a combination of color and flavor. For reference, I have included my notes on the other ingredients that I tried because depending on your project they could work well in other scenarios where flavor isn’t as important of a factor. When I made the cake I reduced the amount of milk so that the addition of the juices wouldn’t affect the consistency of the cake batter as much.
Red: *Beet juice; pomegranate, strawberry and raspberry juices were more muted in color
Orange: *Carrot juice; pumpkin puree also works but imparts more of a flavor
Yellow: *Egg yolk; saffron gave an unpleasant flavor; orange and yellow bell pepper juice produced a more vibrant yellow but had a strong peppery flavor; orange juice had a strong orange flavor; golden beets, despite their brilliant color, produced a juice/dye that was earthy brown in color
Green: *Spinach juice
Blue: *Blueberry juice {A note on blueberry juice: I have since tried using blueberry juice to make blue frosting and the result is more purple. The bluish-purple frosting is still beautiful, I just haven’t been able to make a true blue yet! I am not a scientist, but after doing some resesarch I think the cake is blue due to a chemical reaction with the juice and the baking soda. I am still working on the frosting part and will keep you updated.}
Purple: *Blackberry juice; grape juice concentrate gave a great color but a strong grape flavor. If you choose grape juice, be sure to use one that doesn’t have artificial coloring.
| Rainbow Cake with Natural Dyes for the DailyBuzz Moms 9×9 |
- Natural Dyes
- 1-2 Tbsp beet juice* {I used the liquid in a can of beets.}
- 1 Tbsp carrot juice
- 1 egg yolk
- 1 Tbsp spinach juice
- 1+ Tbsp blueberry juice
- 1+ Tbsp blackberry juice
- White Cake {Courtesy of Cooking Light}
- 3 1/2 cups flour
- 2 tsp baking powder
- 1/2 tsp baking soda
- 1 3/4 cups sugar
- 1/4 cup butter
- 1 1/2 Tbsp oil
- 2 egg whites
- 1 2/3 cups milk, divided
- 1/2 cup plain, fat-free yogurt
- 2 1/2 tsp vanilla
- Buttercream Frosting
- 3 3/4 cups powdered sugar
- 1/2 cup butter, softened
- 1 tsp vanilla
- 3 Tbsp milk
- Whipped Cream Frosting
- 2 cups heavy cream
- 1/4 cup powdered sugar
- 1/8 tsp salt
- 1 tsp vanilla extract
- Use the liquid in canned beets or juice beets in a juicer.* {I had good luck with the liquid from canned beets. One reader who used fresh beet juice from the juice commented that the color turned more brown when it cooked. She is trying it again adding salt and will let us know how it turns out.}
- Juice carrots in a juicer or buy carrot juice.
- Juice spinach in a juicer.
- Microwave roughly 1/4 cup frozen blueberries in 30 second intervals until they start to burst, straining out 1+ Tbsp of blueberry juice.
- Microwave roughly 1/4 cup frozen blackberries in 30 second intervals until they start to burst, straining out 1+ Tbsp of blackberry juice.
- Cream the butter, oil and sugar.
- Add the egg whites and beat well.
- Add the vanilla, 1 cup milk and yogurt alternately with the flour, baking powder and baking soda.
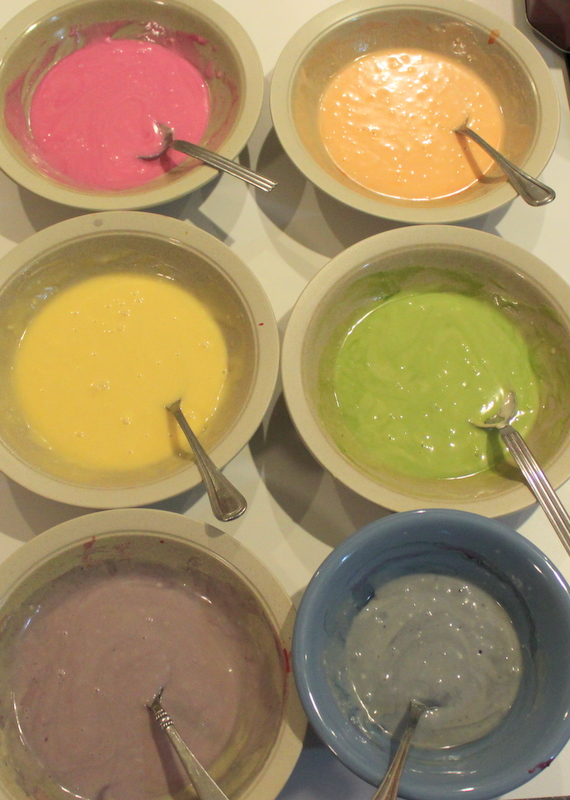
- Pour six 1/2-cup portions of cake batter into separate bowls.
- Mix the natural dye into each bowl {2 Tbsp beet juice, 1 1/2 Tbsp carrot juice, 1 egg yolk + 1 Tbsp milk, 1 Tbsp spinach juice, 1 Tbsp blueberry juice and 1 Tbsp blackberry juice, adjusting the color by using more or less dye}.
- Reserve the remaining batter for a different use. {You will either need to add roughly 4 1/2 Tbsp milk to the remaining batter or the equivalent in natural dye.}
- Pour each 1/2 cup colored batter into a greased and floured 5 1/2-inch cake pan.
- Bake the cakes for 10-15 minutes or until the top of the cake springs back to the touch and a toothpick comes out clean.
- Let the cakes cool for five minutes in the pan and then gently slide a knife around the edges and invert the cakes on a wire rack to cool completely.
- {You could also make cupcakes by layering the colored batter into each lined cupcake tin.}
- Mix the ingredients and beat for several minutes until a smooth, creamy frosting forms.
- Adjust the consistency by adding more powdered sugar or milk.
- Beat the cream, sugar and salt at medium speed until stiff peaks form.
- Fold in the vanilla extract.
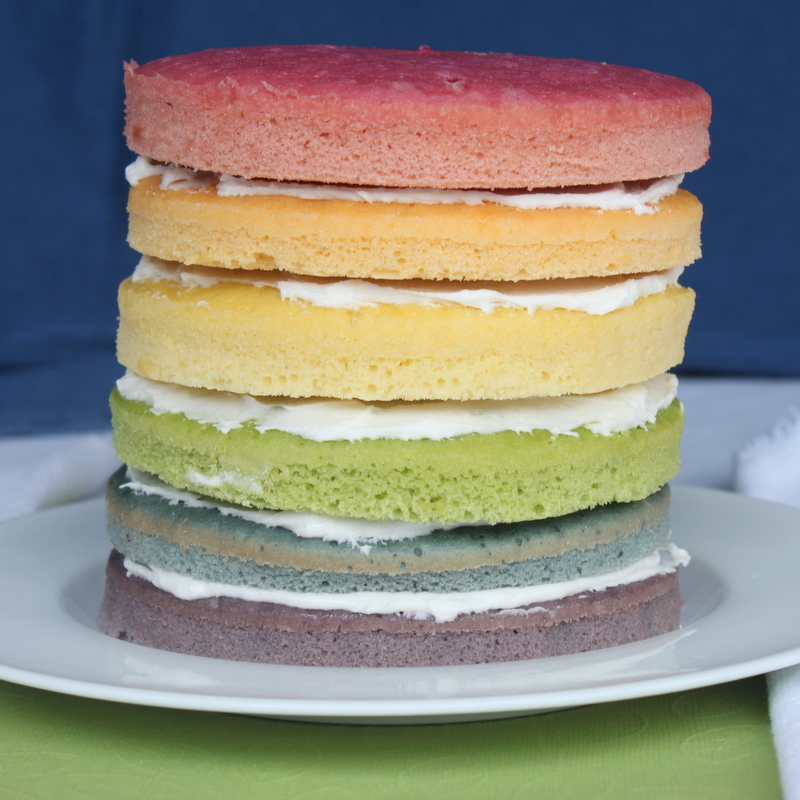
- Assemble the cake once the layers have completely cooled.
- Place the purple layer on the serving cake platter.
- Spread a couple of spoonfuls of buttercream frosting over the top of the layer, smoothing it until it is even.
- Place the blue layer on top and repeat the process until the red layer is on top.
- Place the layered cake in the freezer for five minutes to let the icing set so that when you ice the exterior of the cake the layers won’t slide around.
- Using a knife, generously coat the top and sides of the cake with buttercream frosting, smoothing it with a spatula or a table knife, making sure that it is completely covered but getting rid of excess frosting.
- Then spread the whipped cream frosting on top for a finishing coat, either spreading it smooth with a knife or spatula or pulling it into soft peaks using a knife or the back of a spoon.
- Serve the cake immediately.