Shave Ice
 Print This Recipe
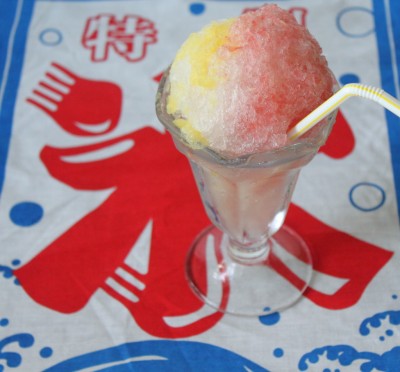
Shave Ice with the Japanese Kakigori Tapestry:
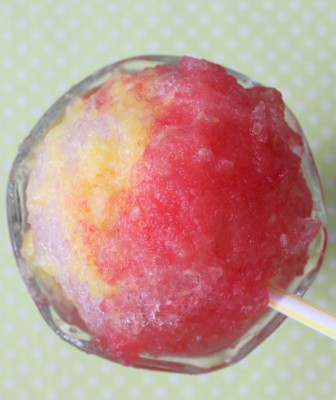
Summer is coming to an end and everyone is gearing up for back to school but we have recently had some of our hottest days yet, perfect for shave ice.
Shave ice is commonly thought of as a Hawaiian specialty, and though this is now true, its origins actually trace back to Japan where it is known as kakigori. Japanese plantation workers brought this frozen treat to Hawaii when they immigrated to the islands. The idea of shave ice began in Imperial Japan {and also in Rome dating back to 27 BC} when wealthy people sent poor servants to retrieve snow in the mountains to then flavor with fruits and sugar syrups. Now variations of shaved ice can be found all around the world.
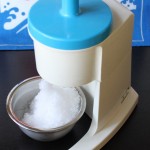
It is easy to make shave ice if you have a hand-crank or electric machine. A block of ice is rubbed against a blade to create the fine ice shavings which are then mounded into a cone or a cup. Flavored syrups are then poured over the ice. In some places, sweetened condensed milk is drizzled on top or ice cream is served beneath the ice.
It is easy to make your own syrups so that you can control the amount of sugar. I grew up making shave ice with juices {Passion-Orange-Guava juice was always a favorite}. Recently, I made unsweetened fresh fruit juices from watermelon and pineapple for an option that is even less sugary. Fruits like watermelon and pineapple work well because they naturally have a large water content. If you use berries or other fruit purees you will most likely need to add sweetened water or lemonade so that the mixture is not too thick. {When blended, watermelon has a watery flavor so I added some squirts of lemon – lime would also work – to the watermelon juice to round out and boost the flavors.}
I borrowed my parents’ hand-crank machine that we used when I was a kid but if you don’t have access to a machine you can still make the frozen treat. It might not technically be considered “shaved ice” but I don’t think your family will mind. Simply pour your fruit juice into a glass or stainless steel baking pan and place it in the freezer. Similarly to when you make ice cream without a machine, stir the juice vigourously periodically as it freezes to break up the ice crystals and create the fine ice. {This version in which the fruit juice is actually the ice is more like a granita or an Italian ice but the resulting icy treat is similar.}
| Shave Ice |
- Fruit chunks, such as watermelon and pineapple
- Squirt of lemon or lime juice, optional
- Sugar, optional
- Shaved ice
- Simple Sugar Syrup
- 1 cup water
- 1/2 cup sugar
- Using a hand-crank machine, shave the ice and mound it in the serving dishes.
- Blend the fruits to make the juice. If you are using fruits with a high water content, such as watermelon and pineapple, simply add a squirt or two of lemon or lime juice and call it good.
- If your fruit blend is too thick, add water, lemonade or another liquid to make it more of a syrupy consistency.
- Sweeten the syrup to taste with sugar or a sugar syrup if desired. I like to leave the juices unsweetened when possible to allow the natural fruit flavors to shine.
- Pour the fruit juices over the ice and serve immediately.
- Mix 1 cup water and 1/2 cup sugar in a small saucepan over low-medium heat.
- Heat the mixture, stirring constantly, until the sugar dissolves and the liquid becomes clear.
- Let it cool and refrigerate it in a sealed container.
- Add it to the fruit juices if desired, sweetening them to taste.
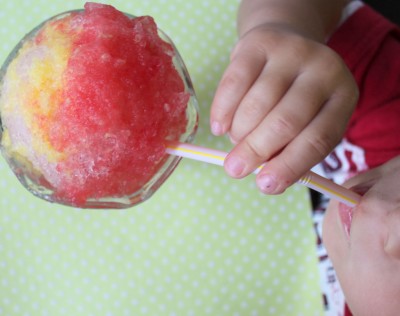
My son sneaking some shave ice while I tried to take pictures:
Tags: granita, Hawaiian shave ice, ice, Italian ice, kakigori, shave ice, shaved ice, snow cone


 (+1 rating, 1 votes)


Wed, Aug 31, 2011
Around the World, Asia, Cooking Projects, Desserts, Fun Family Activities, Ice Cream & Frozen Treats, Japan, North America, Search by Course, Snacks, United States